¶ Install Self-Managed GitLab on Debian
This tutorial is geared toward beginners who wish to tinker with the Self-managed installation of GitLab EE server. In this tutorial, I will show you how to install GitLab CE on Debian 11 system step-by-step.
GitLab CE vs. GitLab EE
GitLab CE is a fully open-source solution with core GitLab functionalities and are comfortable with community support. GitLab EE is proprietary and comes in different tiers, each with additional features unlocked by subscription. The main comparison table like below.
| Feature | GitLab CE | GitLab EE(non-subscription) | GitLab EE(Premium, Ultimate) |
|---|---|---|---|
| Cost | Free | Free | Paid (tier-based) |
| Source Code | Open Source | Open Source | Proprietary |
| Core SCM, CI/CD, Project Mgmt | Yes | Yes | Yes |
| Advanced SCM Tools | No | No | Yes |
| Advanced CI/CD | No | No | Yes |
| Project Planning and Management | Basic | Basic | Advanced |
| Security Features | Basic | Basic | Advanced |
| Compliance Management | No | No | Yes |
| Performance/Scalability | Basic | Basic | Advanced |
| Analytics and Reporting | Basic | Basic | Advanced |
| Collaboration Tools | Basic | Basic | Enhanced |
| Support | Community | Community | Professional |
In this tutorial, I will install the GitLab EE(not-subscription), since it have the same feature with GitLab CE, it also provides foundation that can be expanded upon if the needs grow. I also offer the install command for GitLab CE, if you need it.
¶ Prerequisites
For a smooth installation and operation, ensure that you have the following in place:
| Item | Recommended |
|---|---|
| Host | VM, or Bare Metal Server |
| OS | Debian 11(bullseye) |
| hardware | 4 cpu, 8G RAM, 20G ROM |
| Access | SSH access with sudo privileges, or root access |
| Domain name | gitlab.wildsre.com |
| HTTPS Certificate | Let's Encrypt |
In my side, I create a VM via virtualbox 7.0.18 in my HomeLab environment. The spec like below:
cerek@gitlab-server:~$ neofetch
       _,met$$$$$gg.          cerek@gitlab-server
    ,g$$$$$$$$$$$$$$$P.       -------------------
  ,g$$P"     """Y$$.".        OS: Debian GNU/Linux 11 (bullseye) x86_64
 ,$$P'              `$$$.     Host: VirtualBox 1.2
',$$P       ,ggs.     `$$b:   Kernel: 5.10.0-30-amd64
`d$$'     ,$P"'   .    $$$    Uptime: 4 hours, 35 mins
 $$P      d$'     ,    $$P    Packages: 396 (dpkg)
 $$:      $$.   -    ,d$$'    Shell: bash 5.1.4
 $$;      Y$b._   _,d$P'      Resolution: preferred
 Y$$.    `.`"Y$$$$P"'         Terminal: /dev/pts/0
 `$$b      "-.__              Memory: 4698MiB / 7945MiB
  `Y$$
   `Y$$.
     `$$b.
       `Y$$b.
          `"Y$b._
              `"""
I also create a internal domain name -- gitlab.wildsre.com via local dns-masq server.
cerek@gitlab-server:~$ dig +short gitlab.wildsre.com
192.168.0.15
Let’s get started with installing GitLab EE when the environment all set.
¶ Step-by-step guideline
¶ Install and configure the dependencies
sudo apt-get update
sudo apt-get install -y curl openssh-server ca-certificates perl

# Skip, if you don't use the send email feature.
sudo apt-get install -y postfix
¶ Add GitLab package repository
# Add GitLab EE repository
curl https://packages.gitlab.com/install/repositories/gitlab/gitlab-ee/script.deb.sh | sudo bash

# Add GitLab CE repository(Optional)
# curl https://packages.gitlab.com/install/repositories/gitlab/gitlab-ce/script.deb.sh | sudo bash
¶ Install GitLab EE
# Install GitLab EE
sudo EXTERNAL_URL="https://gitlab.wildsre.com" apt-get install gitlab-ee

# Install GitLab CE(Optional)
# sudo EXTERNAL_URL="https://gitlab.wildsre.com" apt-get install gitlab-ce

# The most important output
Notes:
Default admin account has been configured with following details:
Username: root
Password: You didn't opt-in to print initial root password to STDOUT.
Password stored to /etc/gitlab/initial_root_password. This file will be cleaned up in first reconfigure run after 24 hours.

# You can get the initial root password with /etc/gitlab/initial_root_password
cat /etc/gitlab/initial_root_password
¶ Obtain TLS Certificate and reconfigure
Due to the GitLab server local on my HomeLab without public IP, I obtain the TLS certificate via TXT DNS record manually. You can read the HTTPS Series to learn more about certbot.
# Obtain Let's Encrypt Certificate
sudo certbot certonly --manual --preferred-challenges dns -d '*.wildsre.com'

# Copy the certificate to /etc/gitlab/ssl
sudo mkdir -pv /etc/gitlab/ssl
sudo cp /etc/letsencrypt/archive/wildsre.com/fullchain1.pem /etc/gitlab/ssl/fullchain.pem
sudo cp /etc/letsencrypt/archive/wildsre.com/privkey1.pem /etc/gitlab/ssl/privkey.pem

# Reconfigure GitLab
# Edit the GitLab configure file, add the https config like below
sudo vim /etc/gitlab/gitlab.rb

nginx['enable'] = true
nginx['client_max_body_size'] = '250m'
nginx['redirect_http_to_https'] = true
nginx['redirect_http_to_https_port'] = 80
nginx['ssl_certificate'] = "/etc/gitlab/ssl/fullchain.pem"
nginx['ssl_certificate_key'] = "/etc/gitlab/ssl/privkey.pem"
nginx['ssl_protocols'] = "TLSv1.2 TLSv1.3"
nginx['ssl_session_cache'] = "shared:SSL:10m"

sudo gitlab-ctl reconfigure
sudo gitlab-ctl restart
¶ Browse to the hostname and login
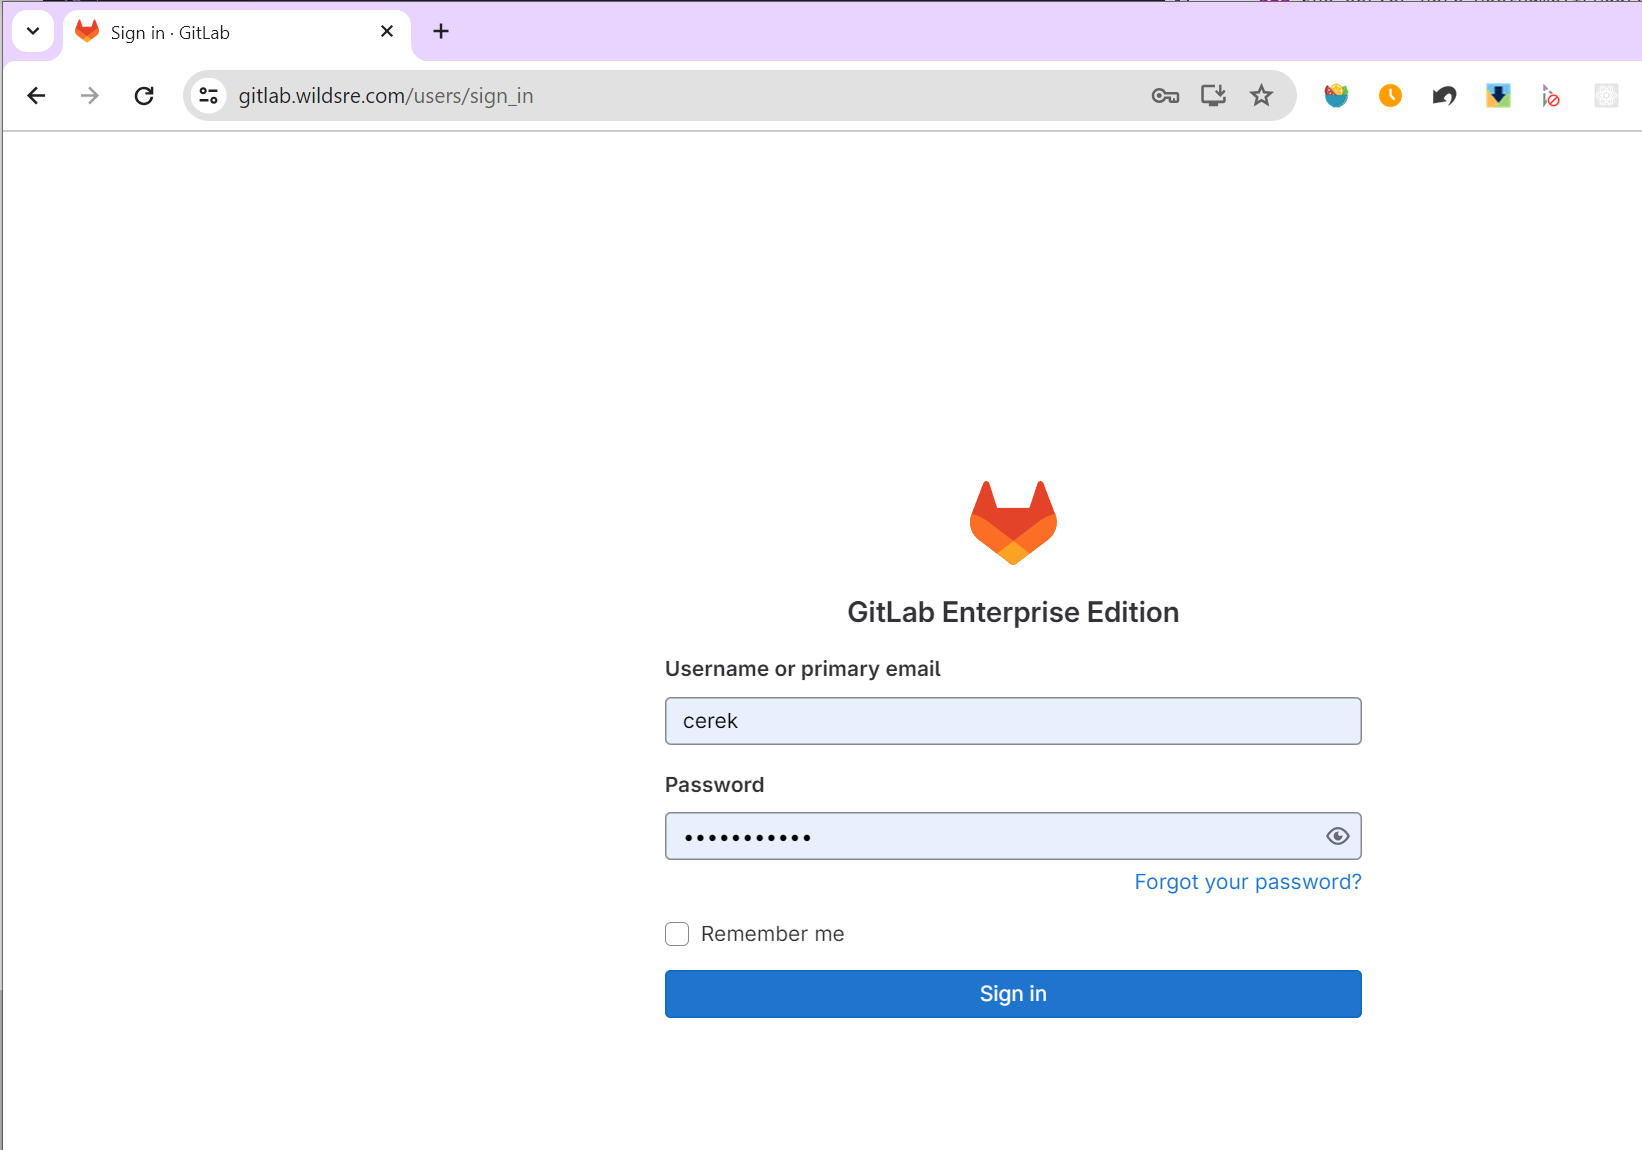
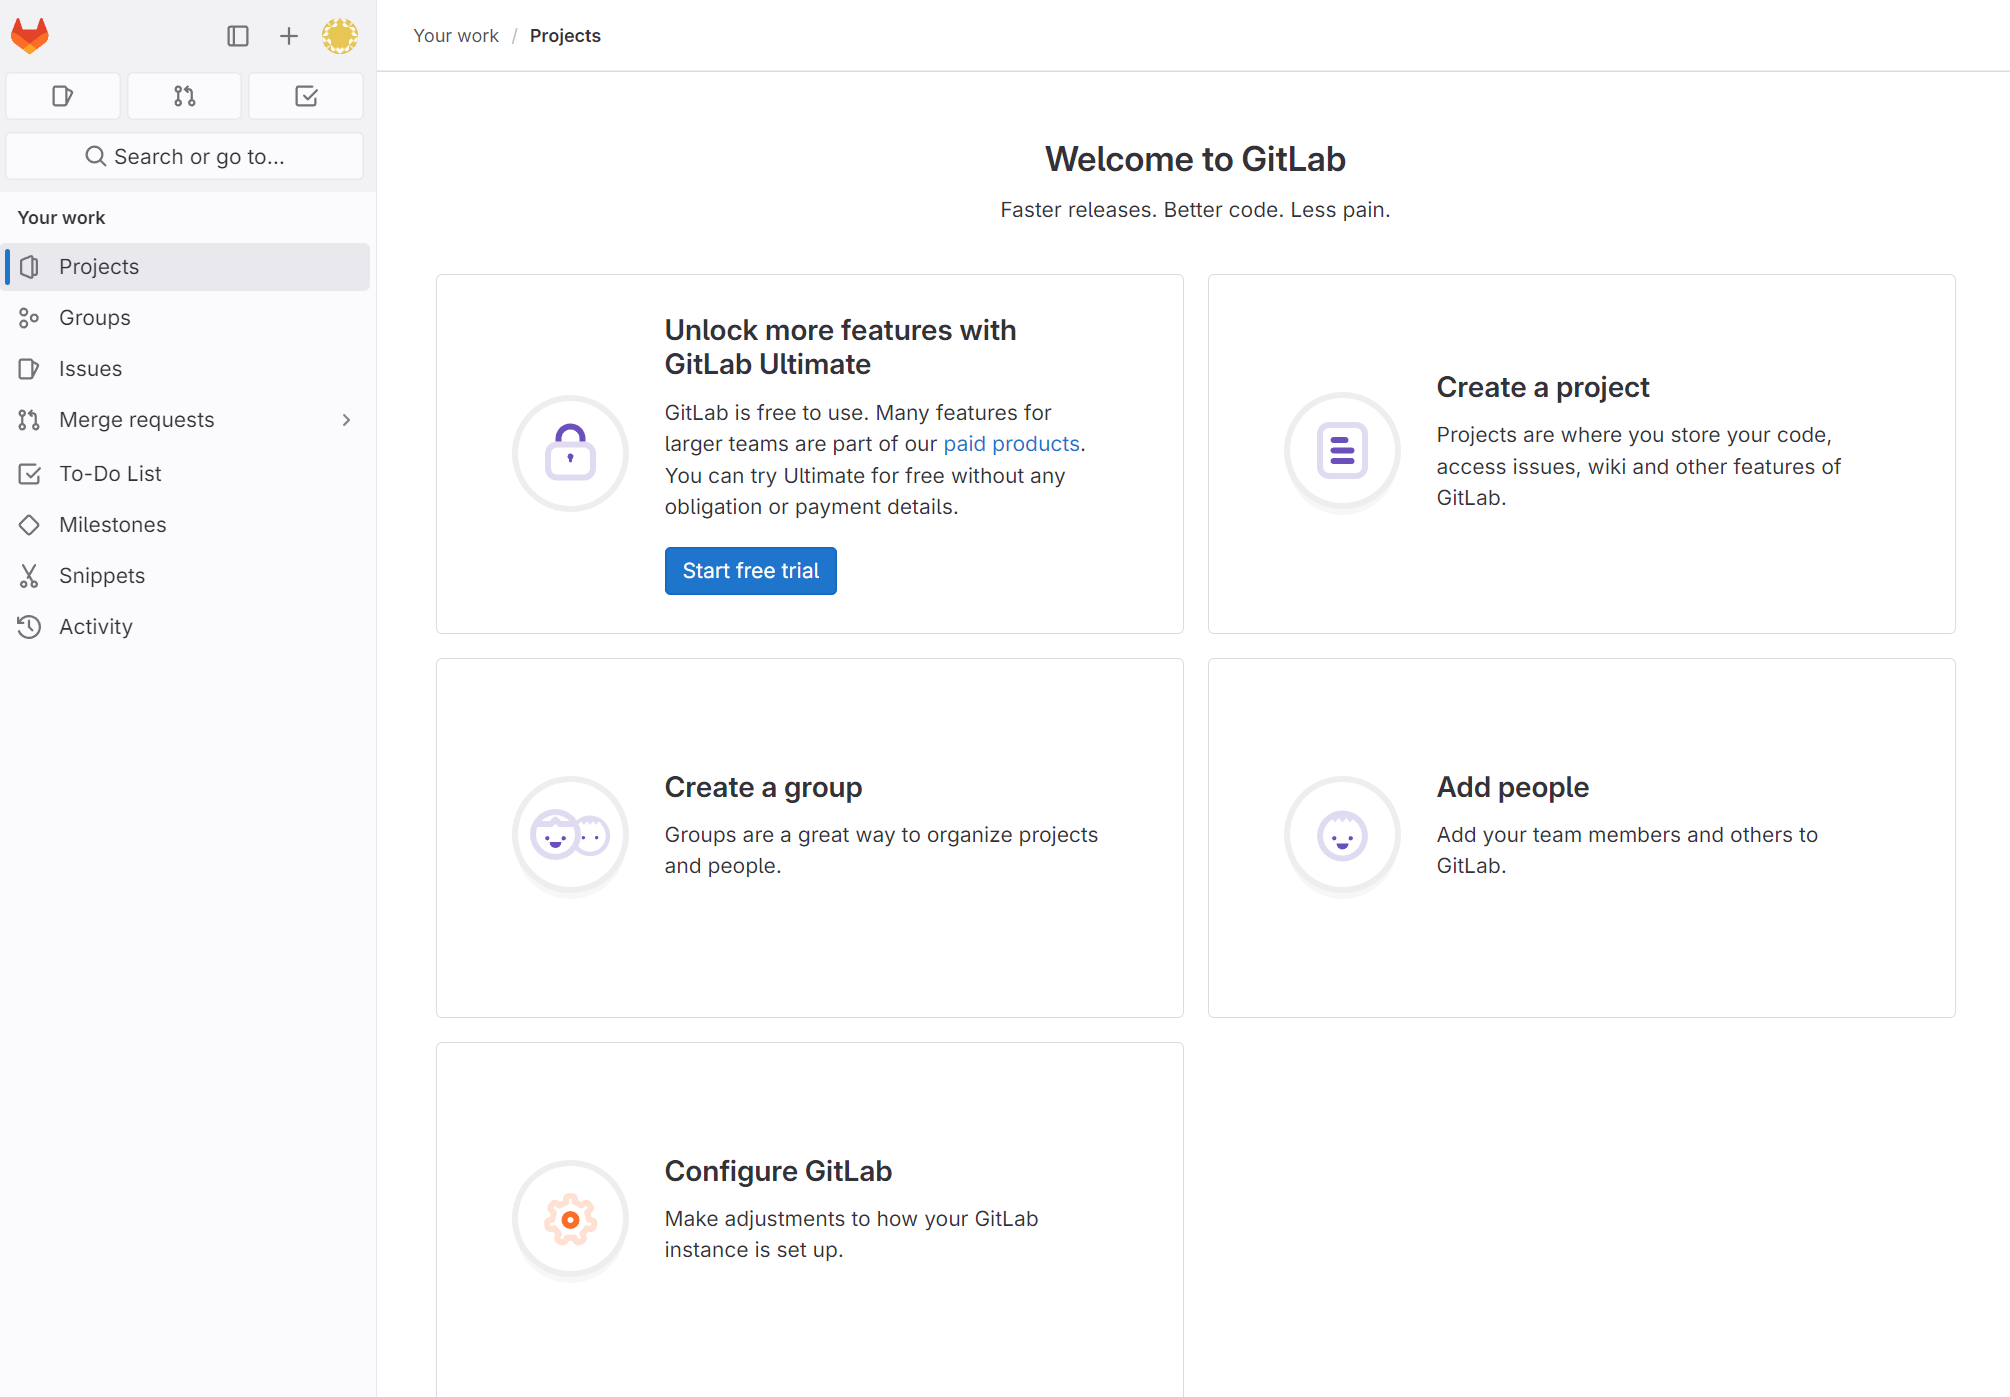
Open the browser, enter https://gitlab.wildsre.com, use root as the username, the password get from /etc/gitlab/initial_root_password to login. Boom, you in.


¶ Conclusion
Congratulations! You have successfully build your own GitLab server. This is just the first step in the journey of getting started with GitLab. Follow the GitLab series to learn more about GitLab with me. Any questions, comment below, I will always be here to help you to the best of my ability.